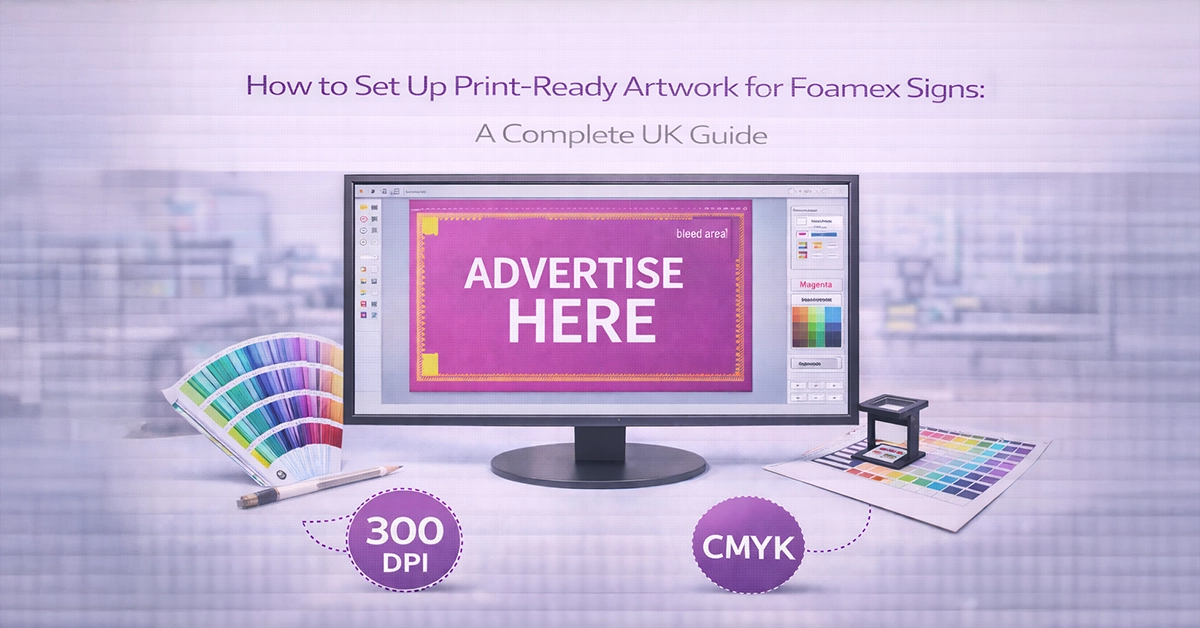
Preparing artwork for Foamex signs is a crucial part of the large-format printing process. Correct file setup ensures accurate colour, sharp detail, and a professional finish, while mistakes can lead to delays, reprints, or compromised print quality. Whether you’re producing Foamex boards for events, construction sites, retail displays, or directional signage, understanding print-ready artwork requirements will help you achieve consistently strong results.
This guide explores the essential steps in preparing Foamex artwork using UK print standards. It includes document setup, colour management, resolution, file format guidance, and professional workflow tips, alongside a simple reference table for easy lookup.
Foamex is a lightweight, rigid PVC board with a smooth surface ideal for large format print. Its texture and durability make it popular for both indoor and outdoor signage, but understanding how the material interacts with ink and finishing processes helps ensure your artwork prints correctly.
Key considerations:


Accurate document sizing is essential for producing print-ready artwork. Incorrect scale, missing bleed, or poorly placed text can result in unwanted trimming or distorted graphics.
This ensures clean finished edges and prevents important content from being cut off.
Designers often work at reduced scale to manage file size. When doing so, ensure DPI is increased proportionally.
Recommended DPI values:
Scaling incorrectly is one of the most common issues reported by UK print providers, often resulting in stretched or pixelated output.
Colour consistency is essential for branded signage. Screens display colour in RGB, while printers output in CMYK, so proper colour management ensures predictable results.
Convert your artwork to CMYK before exporting. This avoids dramatic shifts during printing and ensures compatibility with large format devices.
Common UK and European print profiles include:
These ICC profiles help standardise colour appearance across different devices.
Soft-proofing simulates printed output on screen. A calibrated monitor provides the most accurate preview and reduces the likelihood of colour-related reprints—a leading issue identified in BPIF research.
| Artwork Element | Recommended Setup | Notes |
|---|---|---|
| Colour Mode | CMYK | Ensures reliable colour reproduction |
| Bleed | 3 mm on all sides | Prevents unwanted white edges |
| Safe Zone | 5–10 mm | Protects key elements from trimming |
| Resolution | 150–200 DPI (full size) | Increase DPI when designing at reduced scale |
| Scale Options | 25%, 50%, or 100% | Maintain proportions correctly |
| File Format | PDF/X-4 | Ideal for retaining vectors and colour profiles |
| Images | TIFF or high-quality PNG | Avoid compression artefacts |
| Text & Logos | Vector format | Ensures crisp results at any size |
Sharp Foamex printing depends on strong image quality and the correct use of vector artwork.
Use vector artwork for:
These scale cleanly at any size, preventing fuzzy edges or stair-stepping.
Example scenario:
A 2 m retail Foamex board supplied with a low-resolution photographic element resulted in visible blur once printed. Replacing the raster image with a high-resolution original solved the issue entirely.


Exporting your artwork correctly is just as important as designing it correctly.
Professional design software provides precise control over bleed, colour, resolution, and export standards.
Many print issues can be prevented with an early review of your artwork. Key errors to avoid include:
Addressing these points before exporting helps maintain quality and avoids delays.
Before sending your Foamex artwork for print, confirm the following:
Completing this quick review helps ensure your Foamex signs print cleanly, accurately, and in line with your design expectations.
Getting your artwork setup right is the foundation of producing Foamex signs that look sharp, accurate, and dependable. With the correct colour management, resolution, file formats, and document structure, you’ll minimise production issues and ensure your signage has the clarity and impact it deserves.
If you’d like help preparing artwork, want expert guidance on Foamex signage, or need support planning your next print project, reach out today. Professional artwork preparation ensures a smooth production process and results you’ll be confident displaying.

Unit 4-10 Stanton Road Ind. Est.
Stanton Road
Southampton
Hampshire
United Kingdom
SO15 4HU