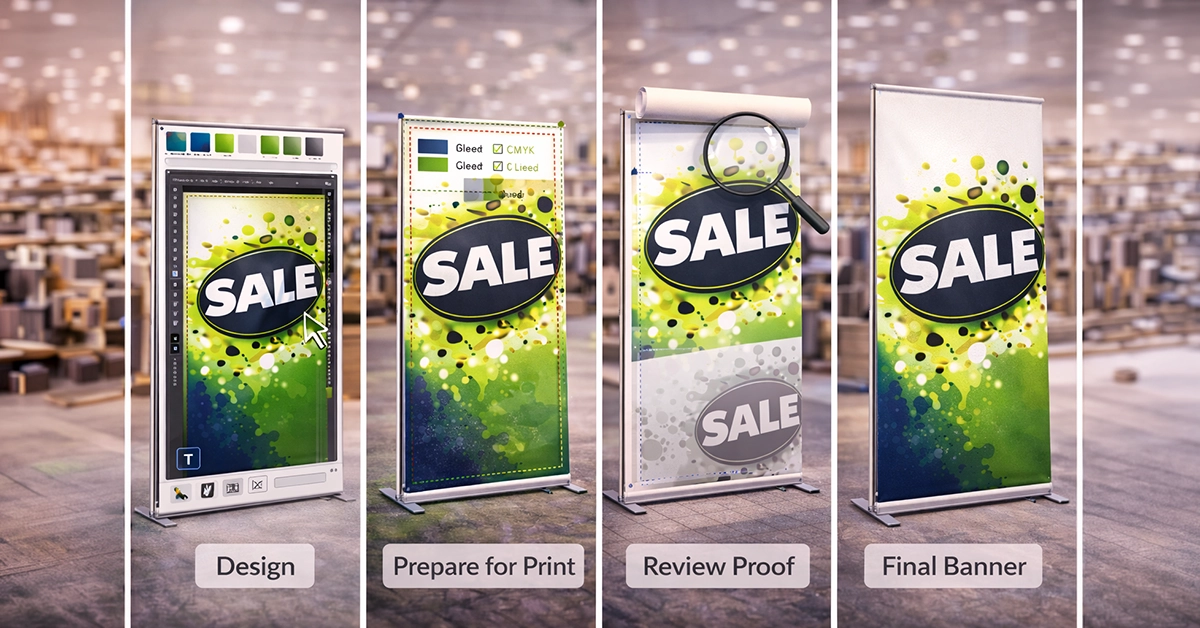
Clear, professional roller banners start with well-prepared artwork. Even a strong concept can print poorly if the file isn’t set up correctly, leading to colour shifts, blurred images or important content disappearing into the roller mechanism. Whether you are designing for exhibitions, retail promotions or corporate events, getting your artwork right ensures your banner looks sharp, accurate and ready to impress.
This guide covers everything you need to prepare print-ready roller banner artwork, including sizing, colour modes, resolution, bleed, safe zones and final checks. Each step is based on industry best practice and tailored to typical UK banner specifications.
Roller banners have structural elements that influence how artwork should be set up, such as the retractable base and viewing distance. Understanding these factors helps you build a design that prints correctly and communicates clearly.
Key considerations:
Mastering these fundamentals ensures your design works with the physical product rather than against it.
Most UK roller banners follow standard widths of 800 mm, 850 mm or 1,000 mm, with heights around 2,000–2,150 mm. Always create artwork at full size to maintain scaling accuracy and image quality.
Layout recommendations:
If possible, work from a downloadable banner template.
For roller banner printing, artwork should always be prepared in CMYK colour mode. RGB files are designed for digital screens and often shift dramatically once printed.
Why CMYK is essential:
Before exporting your file, convert all artwork elements to CMYK and review any colour adjustments.
Correct resolution is crucial for large-format printing and prevents distortion or pixelation.
Recommended resolution:
High-quality images support your brand and ensure your roller banner looks visually professional.
To ensure a clean print and proper assembly, follow these essential setup rules:
These steps help protect your artwork from trimming issues and guarantee a polished final result.
This table provides a simple, reliable guide for preparing files efficiently and correctly.
| Artwork Element | Recommended Setting | Notes |
|---|---|---|
| Document size | Use full banner dimensions | Common example: 800 mm x 2,100 mm |
| Resolution | 150–300 dpi | Use original high-quality images |
| Colour mode | CMYK | Prevents colour shifts |
| Bleed | 3–5 mm | Essential for trimming accuracy |
| Safe zone | 40–50 mm | Keep text and logos clear of edges |
| Hidden base area | 100 mm | This section will not be visible |
| File format | PDF preferred | Fonts outlined; images embedded |
| Image quality | High-resolution sources | Avoid web images |
Exporting your design is one of the most critical steps in roller banner preparation.
Best file formats:
How to ensure a flawless output:
A clean export guarantees a smoother production process and ensures your artwork prints as intended.
Many print issues stem from simple oversights. Avoid these frequent errors:
Eliminating these mistakes helps prevent costly reprints and protects your brand presentation.
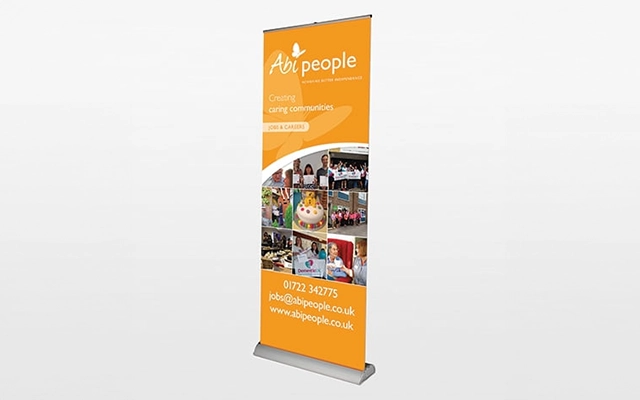
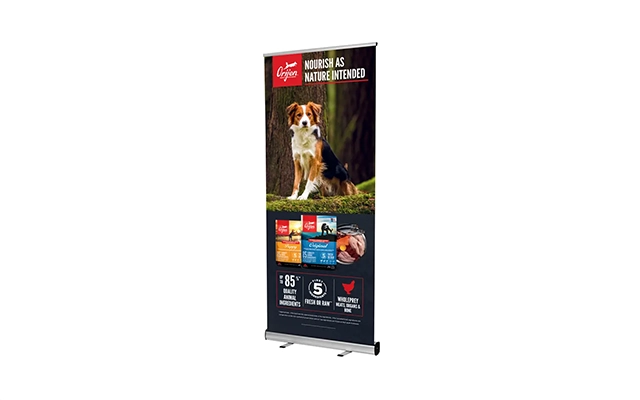
Visibility is everything. Roller banners must be legible from several metres away, so clarity and contrast are key.
Tips for strong readability:
Strong readability supports engagement and improves overall message retention.
Before uploading your file, confirm the following:
A thorough review ensures your print arrives exactly as envisioned.
Preparing artwork correctly is fundamental to producing a high-quality roller banner. By following the recommended setup guidelines, from CMYK colour mode to safe zones, bleed and final file export, you can ensure your banner prints clearly, accurately and with strong visual consistency. Thoughtful preparation also prevents costly delays or reprints and allows your banner to perform effectively in busy environments.
If you are ready to create your roller banner artwork, use this guide as your checklist and begin building your print-ready file with confidence. If you need support with artwork setup, design adjustments or preparing files for other printed materials, expert help is available. Clear artwork leads to clear results, and now you have every step you need to get it right.

Unit 4-10 Stanton Road Ind. Est.
Stanton Road
Southampton
Hampshire
United Kingdom
SO15 4HU