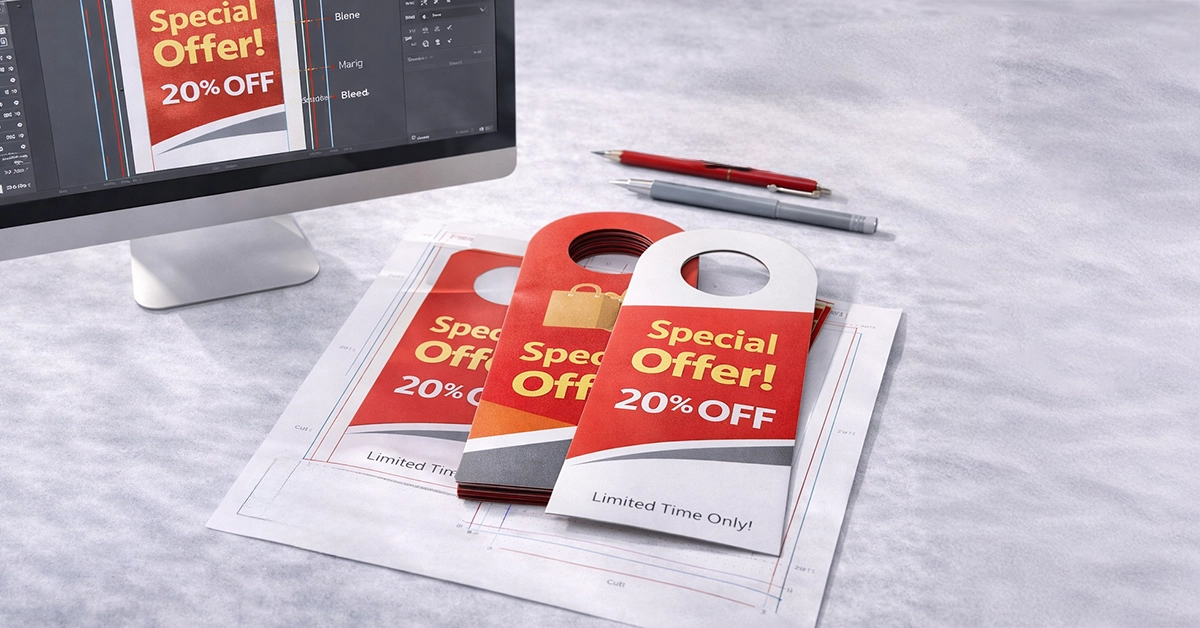
Door hangers remain one of the most effective ways for UK businesses to reach local households with a physical message. Whether promoting home services, a property listing, a retail offer or a community notice, a well-designed door hanger places your brand directly into someone’s hands.
However, successful campaigns start long before printing or delivery. They rely on accurate artwork setup. Poorly prepared artwork can lead to trimming errors, washed-out colours, unreadable text and wasted print budgets. Correct setup ensures your design prints cleanly, looks professional and supports your campaign goals.
This guide explains everything UK marketers, designers and small businesses need to know to prepare print-ready artwork for door hanger printing, including bleed, safe zones, colour mode, resolution, file formats and layout strategy.
Door hanger artwork follows strict production rules because the final product is die-cut, handled frequently and expected to communicate quickly. Before opening your design software, consider the following:
Correct setup reduces production delays and ensures your design prints as intended.
Although there is no single universal UK size, most door hangers follow practical trimming standards similar to DL or slim leaflet formats. Common finished sizes include:
All artwork must include:
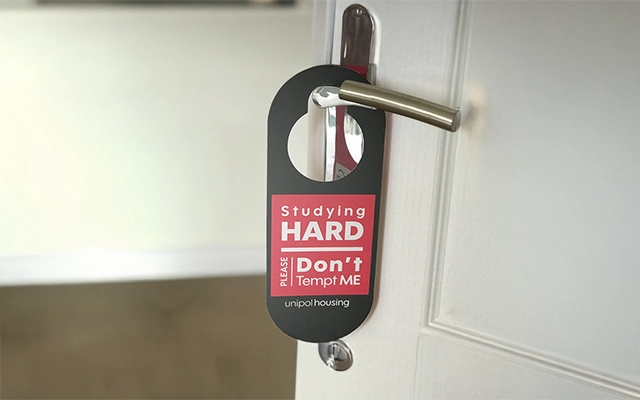
Because door hangers rely on die-cut handling, hole placement must:
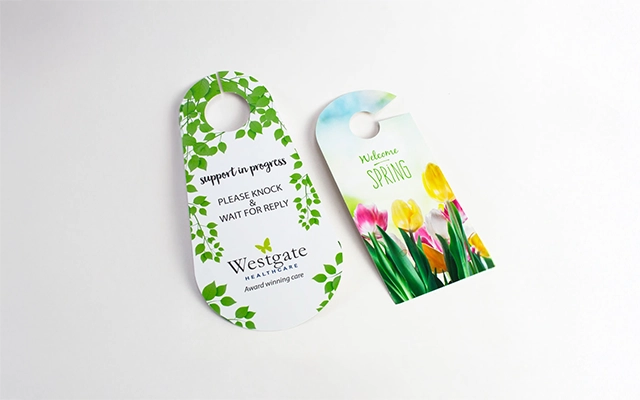
If you create custom shapes, ensure the die-line is clear and supplied as a vector stroke.
A professional print finish relies heavily on correct digital file preparation.
Printers operate in CMYK, not RGB. If you supply RGB artwork:
All images must be:
Avoid upscaling low-resolution photos, as they will print soft or pixelated.
Preferred professional print formats include:
These formats preserve transparency, embed fonts and maintain consistent output across print systems.
Do not supply artwork in:
| Artwork Component | UK Standard Recommendation | Why It Matters |
|---|---|---|
| Bleed | 3 mm on all sides | Prevents visible white edges |
| Safe Zone | 3–5 mm inside trim | Protects vital text and graphics |
| Colour Mode | CMYK | Ensures accurate colour reproduction |
| Resolution | 300 dpi minimum | Keeps images clear and professional |
| File Format | PDF/X-1a or PDF/X-4 | Reduces production errors |
| Hanging Hole | 10–12 mm margin around die-cut | Avoids text distortion or miscuts |
| Fonts | Outline before export | Prevents missing or substituted fonts |
| Design Sides | Double-sided artwork | Improves engagement and clarity |
Beyond technical setup, the strength of your design has a direct impact on response rates. Door hangers must be understood quickly and encourage immediate action.
Ensure your design includes:
A clean layout improves comprehension, especially when someone is moving or opening a door.
Front side:
Reverse side:
Heavier stocks (e.g. 300–400 gsm) offer better durability. Popular finishes include:
These issues frequently cause print delays or rejections:
Preventing these errors ensures a smoother production process.
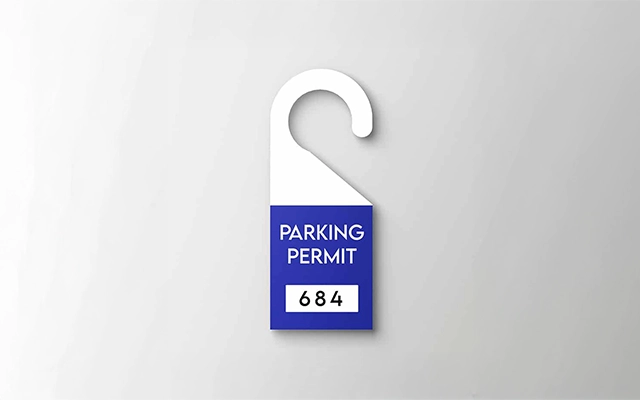
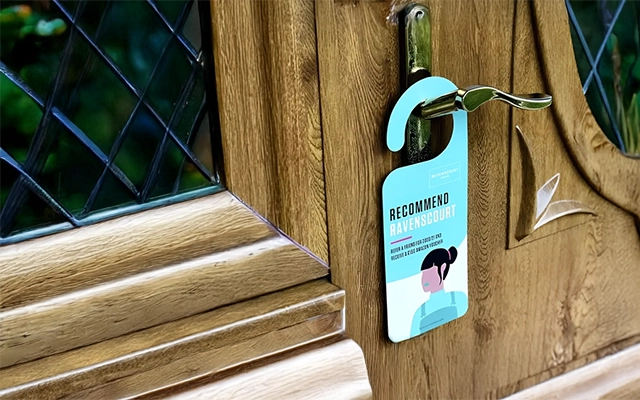
A well-prepared file reduces the likelihood of reprints and ensures colour consistency.
Confirm that:
Digital proofs help confirm layout accuracy, while physical proofs help verify colour and finish. Both significantly reduce the risk of errors.
A UK home services provider used a clean layout with a strong headline, bold contact details and a simple three-step service explanation. The refined artwork helped produce a measurable spike in enquiries during the first distribution round.
A local estate agent used crisp high-resolution photos and a restrained layout to promote a new listing. The professional finish led to increased viewing requests from the surrounding area.
These examples demonstrate that clear visual hierarchy and strong print clarity directly influence response rates.
As sustainability becomes increasingly important to UK consumers, environmentally conscious door hanger printing offers multiple benefits. You can support greener production by choosing:
Simple choices help reduce environmental impact while strengthening brand trust.
Before sending your artwork to print, confirm that:
This checklist safeguards your print quality and keeps your campaign on schedule.
Accurate artwork setup ensures your door hangers look professional, print smoothly and support your campaign goals. With the right preparation, clear design and proper export settings, your door hanger becomes a powerful tool for attracting attention and generating direct responses.
Well-prepared artwork protects your investment, strengthens your brand and helps your message stand out the moment it reaches the door.
If you’re preparing artwork for your next door hanger campaign, this is the ideal time to refine your design, run a preflight check and ensure your file meets professional print standards. Taking these steps now helps your campaign perform confidently from the first print to the final delivery.

Unit 4-10 Stanton Road Ind. Est.
Stanton Road
Southampton
Hampshire
United Kingdom
SO15 4HU