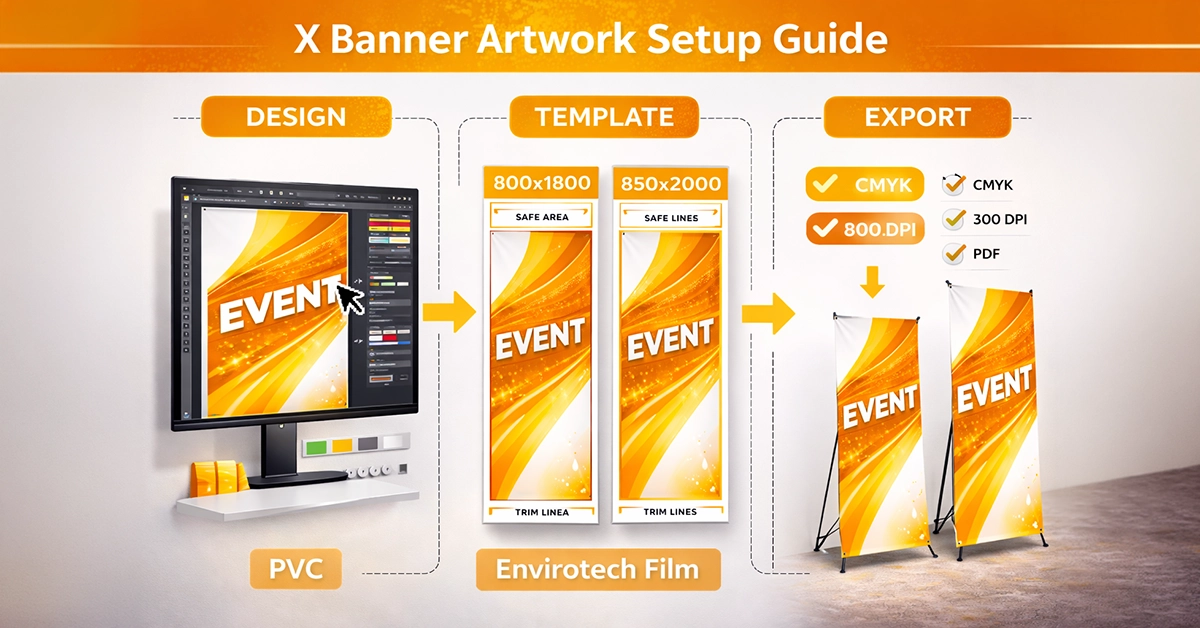
Creating accurate, print-ready artwork for X banners is essential if you want your display to look professional, sharp, and true to your brand. Whether you’re preparing designs for 800×1800 mm or 850×2000 mm templates, the correct setup ensures your artwork prints cleanly, aligns with the frame, and attracts attention in busy promotional spaces. This guide explains everything you need to know about setting up X banner artwork, from bleed and safe zones to colour profiles and export settings.
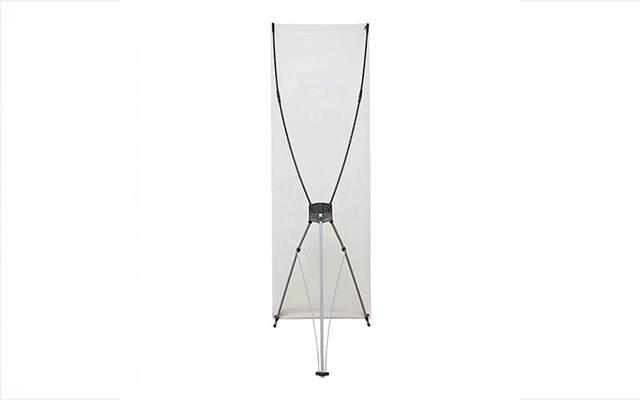
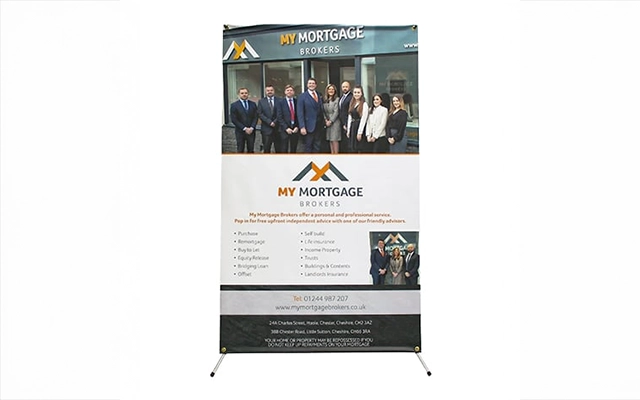
X banners rely on a tensioned frame system, meaning artwork must be sized and positioned precisely. Their tall, narrow shape demands strong design hierarchy and careful spacing to avoid distortion or clipped elements once the banner is tensioned.
To ensure reliable print results, artwork should meet common large-format print standards:
Following these requirements reduces the risk of delays, reprints, and unexpected colour shifts.
Each X banner size comes with unique layout considerations.
Remember to add bleed before designing. For example:
Keep critical text and logos within 10–30 mm from the banner edge to avoid tension distortion.
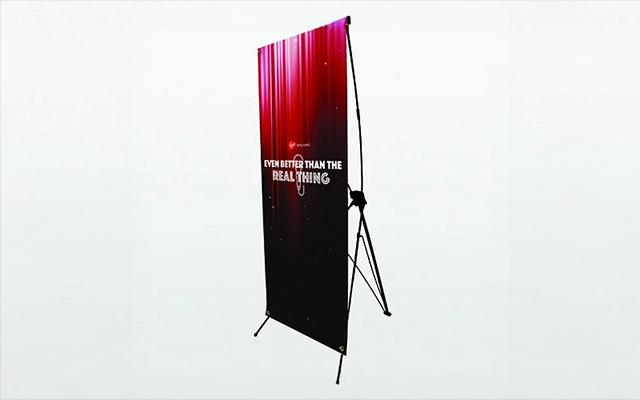
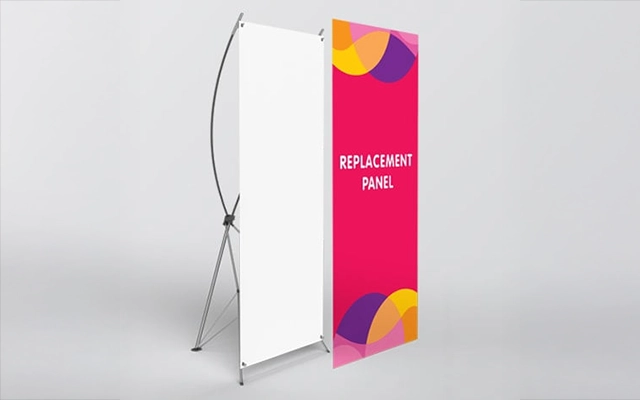
This smaller format performs best with concise layouts and strong visual focus. Build your artwork at full size including bleed, then position elements strategically:
Because this size fills quickly, stick to essential information and high-impact visuals.
With added height, this format provides room for deeper messaging and bolder visual storytelling. To maintain clarity:
If your banner will be used indoors under bright lighting, ensure strong contrast for better readability.
Printed banners stretch nearly two metres tall, so high-quality imagery is crucial. For best results:
Poor pixel quality will be far more noticeable at exhibition scale.
For predictable print results:
Correct colour setup ensures your banner matches your brand across brochures, stationery, and other marketing assets.
| Artwork Component | 800×1800 mm Specification | 850×2000 mm Specification | Notes |
|---|---|---|---|
| Design size (no bleed) | 800 x 1800 mm | 850 x 2000 mm | Base canvas size |
| Design size (with 3–5 mm bleed) | 806–810 x 1806–1810 mm | 856–860 x 2006–2010 mm | Add bleed before designing |
| Safe zone | 10–30 mm inside trim | 10–30 mm inside trim | Protect important content |
| Colour mode | CMYK | CMYK | Avoid RGB |
| Recommended resolution | 150–300 dpi | 150–300 dpi | Higher dpi = sharper print |
| Export format | PDF/X-1a or PDF/X-4 | PDF/X-1a or PDF/X-4 | Embed or outline fonts |
| Layout style | Minimal, bold | Vertical, layered | Consider viewing distance |
These formats rely heavily on readability and simplicity. Keep these principles in mind:
Before exporting, check for:
A quick review prevents unnecessary production issues.
Once your artwork is finalised:
Consistent export settings ensure your artwork prints exactly as intended.
Practical examples show how correct setup makes a meaningful difference:
These scenarios reflect the real value of correct setup before printing.
Use this final checklist to ensure your file is print-ready:
A well-prepared file minimises delays and ensures a professional finish.
Accurate X banner artwork setup ensures your display prints cleanly, reads well from distance, and represents your brand effectively. Whether you’re designing for an 800×1800 mm or 850×2000 mm template, following these guidelines will help you produce clear, reliable, and visually engaging results.

Unit 4-10 Stanton Road Ind. Est.
Stanton Road
Southampton
Hampshire
United Kingdom
SO15 4HU