• Free Delivery (UK Mainland)
  • Professional Design Services
  • 4.9 Google Review Rating
  • Friendly Team of Experts
  • Help & Support Guides

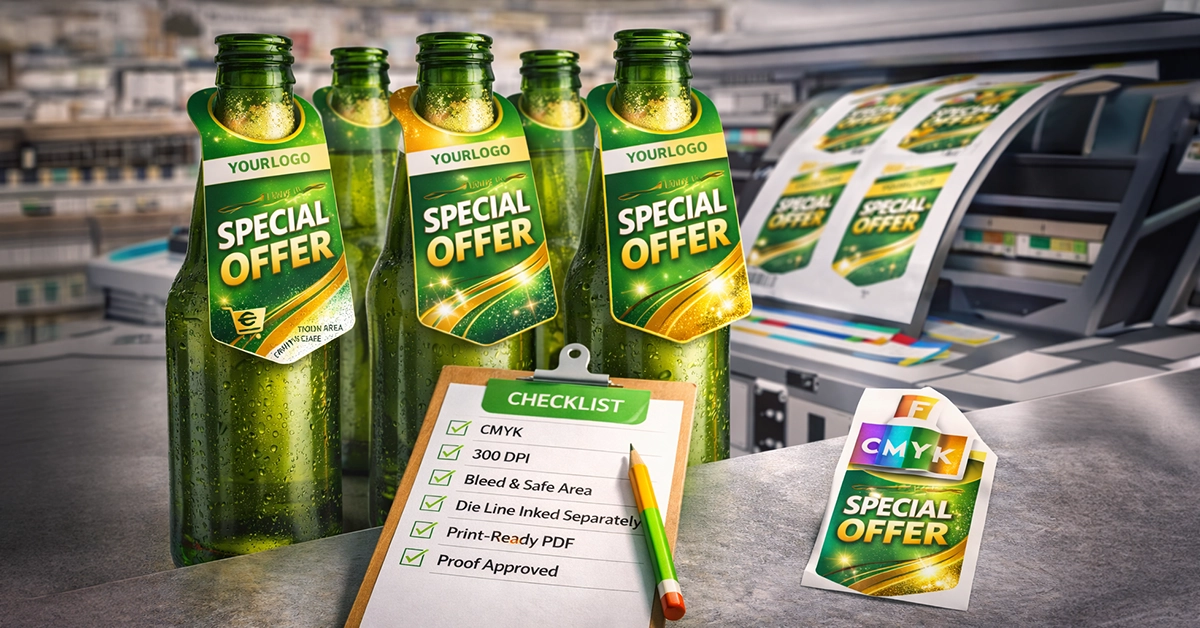
Artwork Preparation for Bottleneck Hanger Printing: Complete Production Checklist

5–7 minutes

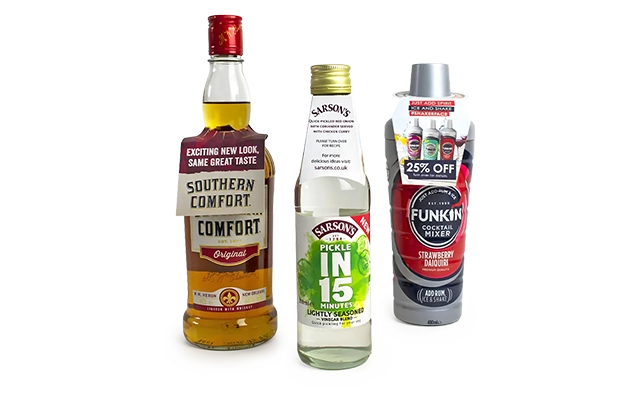
Bottleneck hangers are powerful in-store promotional tools that cut through shelf clutter and capture the attention of shoppers. But their impact relies heavily on how well the artwork is prepared. Accurate artwork ensures crisp print quality, consistent colour, and a seamless production process.

This guide provides a step-by-step production checklist designed for designers, marketers, and brand teams preparing bottleneck hanger artwork for print. It covers everything from dieline setup and bleed requirements to QR code scannability and sustainable stock choices.

Why Proper Artwork Preparation Matters for Bottleneck Hanger Printing

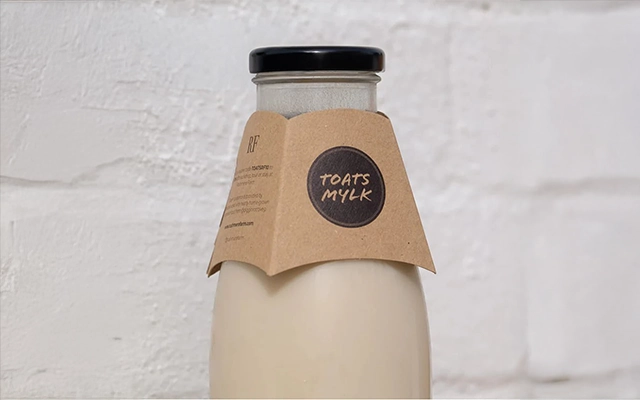
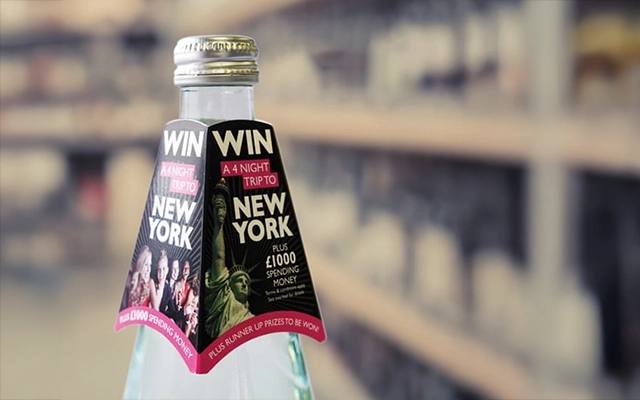
Bottleneck hangers function more like small packaging components than standard print pieces. They are die-cut, creased, folded, and often finished with lamination or varnish. Even minor artwork issues can cause:

  • Misaligned cutting
  • Cracking along folds
  • Bottleneck hangers slipping or tilting on the bottle
  • Colour inconsistencies
  • QR codes that fail to scan

Industry insights show that a large proportion of print files require adjustments before production can begin. Preparing artwork correctly helps prevent delays and ensures your hangers look professional in retail environments.

Setting Up Your Bottleneck Hanger Document Correctly

Correct setup forms the foundation of smooth production. Ensure:

  • A printer-approved dieline placed on a separate, non-printing layer
  • Document size matches the selected hanger format or bespoke shape
  • Clearly labelled layers, such as Artwork, Dieline, Crease, Foil, Spot UV
  • CMYK colour profile, commonly ISO Coated v2 unless otherwise specified
  • PDF/X export settings to stabilise fonts, transparency, and colour

The dieline acts as the structural guide. It must remain a vector and should never print.

Bleed, Safe Zones, and Effective Copy Placement

Die-cut items require accurate bleed and safe-zone settings to protect artwork during trimming:

  • Apply 3 mm bleed around all edges
  • Keep content 3–5 mm inside the cut line
  • Ensure QR codes, headlines, logos, and small icons stay clear of slits, folds, and curves

Because bottleneck hangers often include circular or angled openings, tight margins can lead to text distortion or unwanted cropping.
Optimising Colour for Print Consistency

To ensure the final print matches your design intent, follow these colour guidelines:

  • Convert all artwork to CMYK
  • Use vector graphics for logos and icons to maintain clarity
  • Apply rich black for background panels and pure black for body text
  • Preview artwork using Adobe Output Preview tools to detect overprint issues
  • Review soft proofs or wet proofs when accuracy is essential

Leaving RGB images in artwork is one of the most common causes of colour mismatch.

Ensuring Image and Logo Quality on Small Formats

Bottleneck hangers are viewed up close, so imagery must be sharp and clean:

  • Use 300 dpi minimum for images
  • Supply logos as vector files such as AI, EPS, or SVG
  • Export assets at maximum quality to avoid compression artefacts
  • Check that icons remain legible at the final printed scale

Poor imagery becomes immediately noticeable on bottle-side materials.

Preparing Creases, Folds, Slits, and Die-Cut Details

Structural precision affects both print quality and how well the hanger fits the bottle. Artwork must:

  • Show crease lines and perforations clearly on non-printing layers
  • Avoid placing fine text across folds
  • Allow extra tolerance for ink-heavy areas on folds to prevent cracking
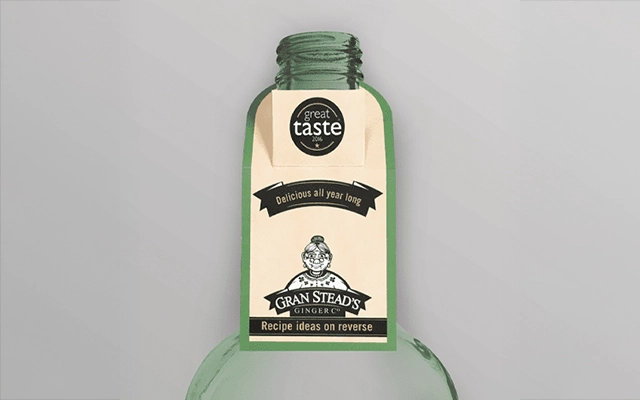
  • Include a slit width suitable for the bottle type such as wine, spirits, beer, or FMCG

A clean structural setup ensures hangers sit securely without leaning or tearing.

Quick-Reference Artwork Table

Artwork ComponentRequirementProduction Note
Bleed3 mm minimumPrevents white edges after die-cutting
Safe Zone3–5 mm inside cut lineProtects text and icons
Colour ModeCMYKEnsures predictable print colour
Image Resolution300 dpiAvoids pixelation
QR Code Size12–14 mm minimumMust include a clear quiet zone
LayersClearly labelledAvoid printing dielines or creases
FontsOutlined or embeddedPrevents reflow
File FormatPDF/X preferredStabilises transparency and colour

QR Codes, Barcodes, and Variable Data Setup

These elements require accuracy to function correctly once printed:

  • Ensure QR codes are 12–14 mm minimum with a 4-module quiet zone
  • Maintain high contrast for successful scanning
  • Keep codes away from fold lines, curves, or glossy finishes
  • Follow GS1 UK barcode guidelines for width, quiet zones, and orientation
  • Test variable data early to avoid misalignment or missing entries

A well-prepared QR code ensures smoother engagement with digital promotions, competitions, and landing pages.

Applying Special Finishes: Foil, Spot UV, Embossing, and Lamination

Premium finishes help a bottleneck hanger stand out, but they must be set up precisely:

  • Use dedicated finish layers such as Foil, Spot UV, or Emboss
  • Apply knockouts to prevent registration issues, especially under foil
  • Leave adequate spacing behind embossed text to prevent distortion
  • Allow for colour shifting when laminating artwork
  • Confirm foil and varnish areas are vector-based for crisp edges

These enhancements add striking detail when executed with accurate artwork.

Sustainable Stock and Eco-Friendly Artwork Choices

Sustainability is increasingly important in UK retail. Support eco-friendly production by:

  • Selecting recycled or sustainably sourced paper stocks
  • Reducing unnecessary ink coverage
  • Designing with recyclability in mind
  • Creating efficient dielines that reduce material waste

Simple design decisions can significantly improve environmental impact without compromising print quality.
Common Artwork Mistakes That Cause Production Delays

Avoid preventable issues by checking for:

  • Missing or incorrect bleed
  • Mixed RGB and CMYK colour modes
  • Dielines accidentally set to print
  • Unembedded fonts or missing linked assets
  • QR codes placed too close to folds or printed too small
  • Unlabelled layers for finishes
  • Rasterised logos that compromise quality

Correcting these mistakes upfront saves valuable production time.

Final Pre-Flight Checklist for Print-Ready Bottleneck Hangers

Before submitting your file:

  • Confirm document size and dieline accuracy
  • Check bleed and safe zones
  • Convert all artwork to CMYK
  • Outline or embed fonts
  • Verify image resolution at 300 dpi
  • Test QR and barcode sizing
  • Label all finish layers clearly
  • Run a full pre-flight check
  • Export using PDF/X settings

This ensures your artwork arrives press-ready with no unexpected errors.

How Strong Artwork Preparation Improves In-Store Performance

Clean, consistent artwork directly supports stronger shelf presence. Well-prepared hangers:

  • Display clear messaging that shoppers can read instantly
  • Maintain colour consistency across campaigns
  • Fit bottles securely, preventing twisting or slippage
  • Provide functional QR codes that encourage digital engagement

Accurate artwork protects campaign credibility and helps your brand communicate effectively at the point of sale.

Next Steps: Prepare Artwork That Performs

If you’re preparing bottleneck hangers for an upcoming retail promotion, use this checklist to ensure your artwork is accurate, consistent, and production-ready. Strong artwork preparation not only safeguards print quality but also supports better brand visibility in store.

If you’d like help producing dielines, refining artwork files, or planning a wider print campaign, now is the ideal time to take the next step.

Site Logo
Part of the Inprint Group

Unit 4-10 Stanton Road Ind. Est.
Stanton Road
Southampton
Hampshire
United Kingdom
SO15 4HU
Affiliations

members of
© Copyright 2026 Inprint Group