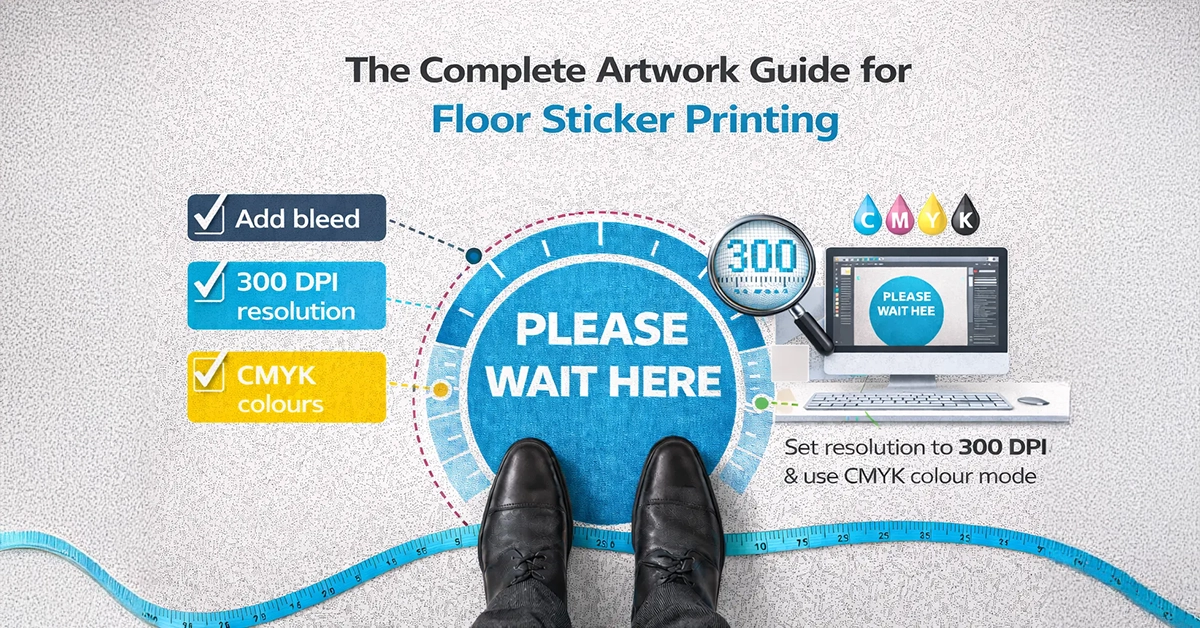
Floor stickers remain one of the most effective ways to direct customer flow, reinforce branding and support promotional campaigns in retail, workplace and event spaces. Yet many print issues can be traced back to incorrect artwork preparation. Missing bleed, low-resolution graphics and unsuitable colour modes often lead to dull colours, blurred imagery and unnecessary reprints.
This guide explains how to prepare accurate, print-ready artwork for floor sticker printing, covering bleed, resolution, colour profiles, file setup and essential design considerations. Whether you’re producing graphics for retail signage, workplace messaging or event branding, following these steps ensures your artwork prints cleanly and reliably.
Bleed is central to producing clean, edge-to-edge floor stickers. Without it, small trimming shifts can create unwanted white edges.
Bleed is extra artwork that extends beyond the final trim size. Because trimming can vary slightly, bleed ensures colour and imagery continue to the edge.
This prevents important content from being clipped or appearing misaligned.
For a deeper explanation, you can reference the definition of bleed in printing here.
Resolution determines how crisp your printed floor sticker appears. Low-resolution artwork produces pixelated images and soft edges, especially noticeable when viewed up close.
All raster artwork should be supplied at 300 dpi at the final print size. This ensures clarity and accuracy across all vinyl surfaces.
For oversized floor graphics:
This prevents quality loss when enlarging images.
Colour consistency is essential for brand identity and visual impact. Using the correct colour mode prevents unexpected shifts.
RGB is designed for screens. When printed, RGB artwork automatically converts to CMYK, often resulting in muted tones.
For floor stickers:
Some designs require additional attention:
Large blocks of colour: ensure consistency in tone and density
Solid brand colours: define using CMYK values
Transparent vinyl: supply a white-underprint layer to maintain opacity

Use formats that preserve quality and reduce processing errors:
Avoid low-resolution JPEGs for final artwork.
These steps minimise the risk of unexpected font substitutions or export issues.
Vector artwork is the preferred choice for most floor sticker designs, as it retains clarity at any scale.
A combination of both formats often delivers the strongest visual result.
Floor stickers must withstand heavy footfall, cleaning products and environmental changes. This means artwork must be prepared with more care than standard printed labels or posters.
Floor stickers may be produced using:
Each material affects colour appearance:
Accurate resolution and colour settings help maintain visibility even after extended use, especially in high-traffic retail or workplace environments.
| Artwork Component | Recommended Standard | Why It Matters |
|---|---|---|
| Bleed | 3 mm | Prevents visible white edges |
| Safe Zone | 3–5 mm inside trim | Protects important elements |
| Resolution | 300 dpi | Ensures sharp print clarity |
| Colour Mode | CMYK | Reduces colour shift |
| File Format | PDF preferred | Stable for print workflows |
| Fonts | Convert to outlines | Prevents substitution |
| White Underprint | Required for transparent vinyl | Improves colour opacity |
| Vector Artwork | Preferred for key elements | Scales cleanly at any size |


Many print delays originate from avoidable artwork problems. The most frequent issues include:
Avoiding these ensures faster approval and cleaner print results.
Before sending your file for print, confirm that:
This checklist significantly reduces the risk of reprints or processing delays.
Accurate artwork preparation is the foundation of a clean, professional floor sticker. By applying correct bleed, resolution, colour settings and file structure, you ensure your design prints exactly as intended. Whether supporting a retail campaign or guiding workplace movement, well-prepared artwork delivers better results and reduces the chance of production issues.
If you’re creating artwork for an upcoming floor sticker project, take a moment to review the checklist above and refine your file. Correct settings now save time, protect budgets and ensure your printed graphics look as strong as your original design. When you’re ready for production, share your artwork with your print provider for a quick pre-flight check and move confidently into production.

Unit 4-10 Stanton Road Ind. Est.
Stanton Road
Southampton
Hampshire
United Kingdom
SO15 4HU