Accurate artwork setup is essential for producing professional swing tag printing that looks consistent across every batch. Used in fashion, gifting, artisan packaging, and retail displays, swing tags communicate far more than product details. They reinforce brand identity, support perceived quality, and contribute to the overall unboxing experience.
Poorly prepared artwork can cause misaligned holes, uneven trimming, or colour inconsistencies. This guide explains everything you need to prepare print-ready swing tags with reliable bleed, safe zones, hole placement and colour accuracy, helping your designs translate cleanly from screen to press.
Print-ready artwork includes all the technical elements needed to ensure the design trims and finishes exactly as intended. Because trimming machinery typically operates within a tolerance of ±1 mm, artwork must incorporate bleed, safe zones and accurate hole placement.
Print-ready swing tag artwork should include:
The goal is to ensure your artwork prints cleanly and consistently, especially for larger batches or repeat orders.
Bleed ensures that backgrounds, colours, or patterns extend beyond the finished trim size, preventing white edges caused by tiny variations during cutting.
Bleed is particularly important for:
More details on bleed settings can be found in our help and support guides.

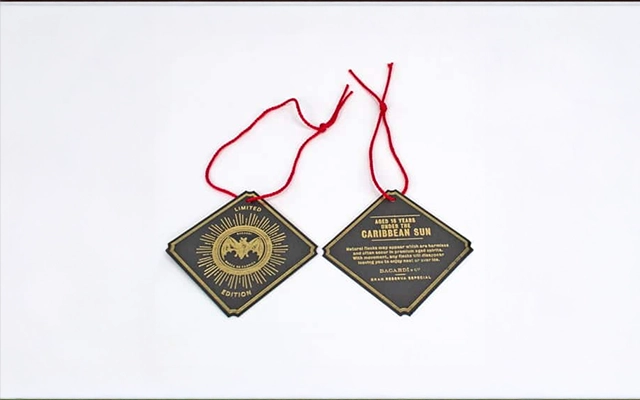
The safe zone keeps important content away from the trim edge. Anything essential should be placed 3 to 5 mm inside the final trim size. This prevents accidental trimming of text or logos and helps ensure a balanced design.
Items that should always sit within the safe area include:
Maintaining a clear margin around these elements also improves readability and supports a visually structured layout.
Hole placement is one of the most common sources of artwork errors. Incorrect positioning can leave the swing tag appearing off-centre or cause the stringing area to overlap important design elements.
| Element | Recommended Specification | Purpose | Notes |
|---|---|---|---|
| Bleed | 3 mm standard; 5 mm for complex designs | Prevents white edges | Extends artwork beyond trim |
| Safe Zone | 3–5 mm inside trim | Protects key content | Ensures clean layout |
| Hole Placement | 5–7 mm from trim edge | Accurate drilling | Measure from final size |
| Hole Diameter | 3 mm, 5 mm, 6 mm | Matches cord/twine | 5 mm suits most uses |
| Colour Mode | CMYK (FOGRA39/51) | Predictable print colour | Avoid RGB |
| Resolution | 300 dpi images | Sharp print quality | Prevents blurred edges |
| File Format | PDF/X-1a or PDF/X-4 | Consistent output | Embed or outline fonts |
| Die-Line | Vector path | Accurate cutting | Keep non-printing |
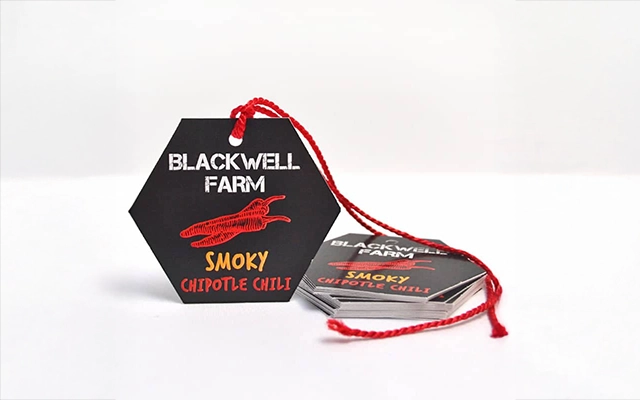
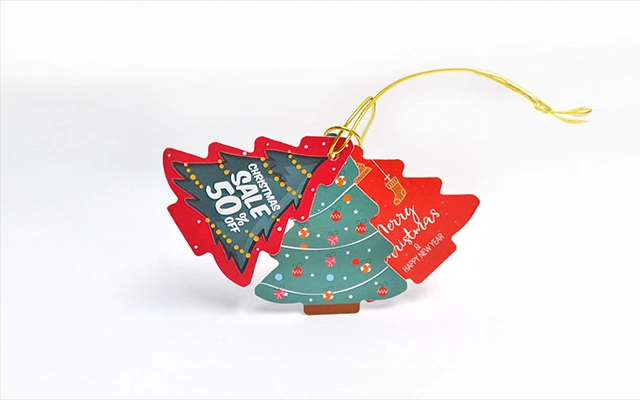
Custom shapes can make swing tags stand out, but they require precise artwork preparation. Every bespoke shape must include a clear vector die-line that defines the exact cutting path.
These steps ensure the final tags retain their intended shape and cut smoothly.
Accurate colour setup is essential for consistent branding, especially when printing multiple batches. Using incorrect colour modes or low-resolution images can lead to dull colours or blurred detail.
Once the artwork is finalised, the export stage determines whether the file is truly press-ready.
Correct file preparation reduces the risk of print delays and ensures predictable results.
Artwork accuracy directly reduces waste, which matters for businesses aiming to print responsibly. Clean, accurate setup minimises the need for reprints and helps reduce material offcuts.
When using recycled or uncoated stocks:
These considerations help maintain professional quality while supporting environmentally conscious printing.
Many recurring problems can be prevented with a structured workflow. Key pitfalls include:
Anticipating these issues ensures a smoother print process and reduces the risk of errors.
A patterned border printed without bleed left visible white slivers after trimming. Adding a 3 mm bleed prevented the issue and delivered a cleaner edge.
A hole placed only 2 mm from the trim line resulted in inconsistent drilling. Adjusting to 5 mm ensured accurate and consistent positioning.
Highly detailed die-cuts placed on thin stock tore during stringing. Simplifying the design and using a heavier board ensured better durability.
These real scenarios demonstrate the importance of structured artwork preparation.
Well-prepared artwork is the foundation of high-quality swing tag printing. By applying correct bleed, safe zones, hole placement and colour settings, your artwork will be print-ready and reliable across every batch.
Whether you’re designing new tags or refining existing ones, following these principles will help you produce swing tags that look sharp, consistent and aligned with your brand.
Ready to create standout swing tags? Start preparing your artwork today and ensure your next print run matches your vision with precision.

Unit 4-10 Stanton Road Ind. Est.
Stanton Road
Southampton
Hampshire
United Kingdom
SO15 4HU