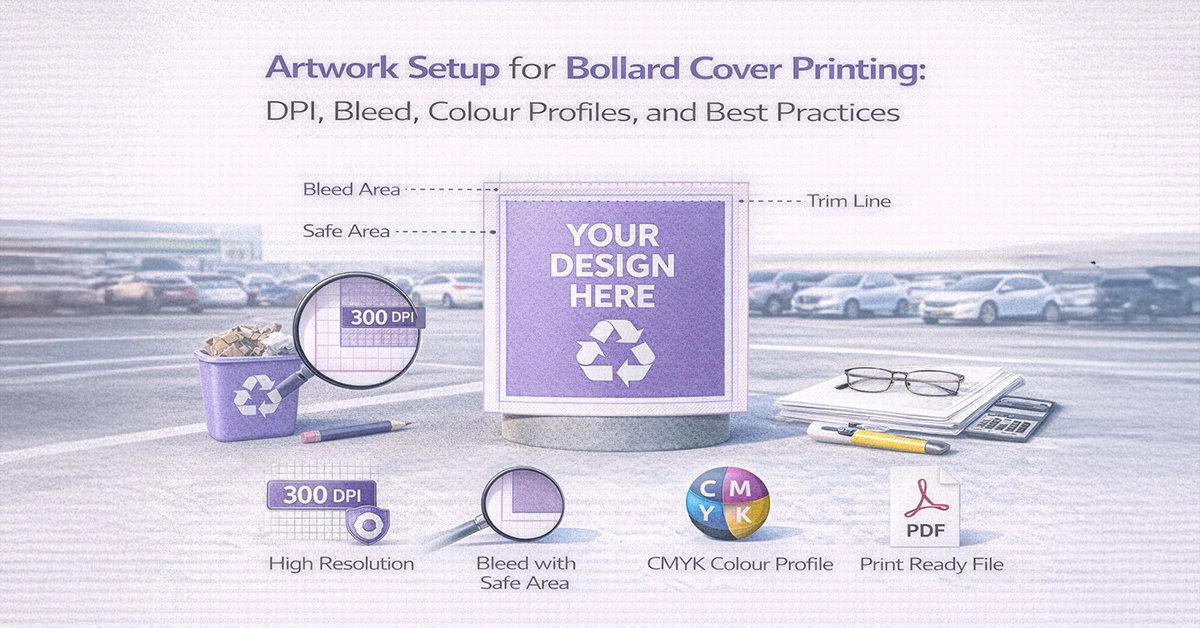
Correctly preparing artwork for bollard cover printing is essential if you want sharp results, accurate colours, and a smooth installation on site. Whether you are producing covers for retail promotions, forecourt displays, or car park safety messaging, the right setup prevents issues such as pixelation, misaligned seams, and unexpected colour shifts. This guide breaks down the key print specifications, including DPI, bleed, colour profiles, file formats, and design techniques for cylindrical surfaces, helping you create professional, print-ready artwork.
Bollard covers require more precision than traditional flat-format print because the artwork wraps around a cylinder. This means even small errors can affect alignment, legibility, and the overall look of the display.
Designers must consider:
• Wrap direction and seam placement.
• Text and graphic positioning across curved surfaces.
• Colour consistency across different printing materials.
• How the viewer will see the cover from multiple angles.
Clear and accurate setup ensures consistent results across retail, forecourt, and outdoor environments.
Choosing the correct DPI (dots per inch) determines how crisp and detailed your printed artwork will appear. Because bollard covers are often viewed from close or mid-range distances, resolution must be high enough to avoid blurring.
Recommended DPI settings:
• 150 DPI at full size for general-purpose designs.
• 300 DPI for covers featuring small text, intricate patterns, or high-detail imagery.
Using unnecessarily high DPI can increase file size without improving quality, so selecting the correct level is essential for efficient production.
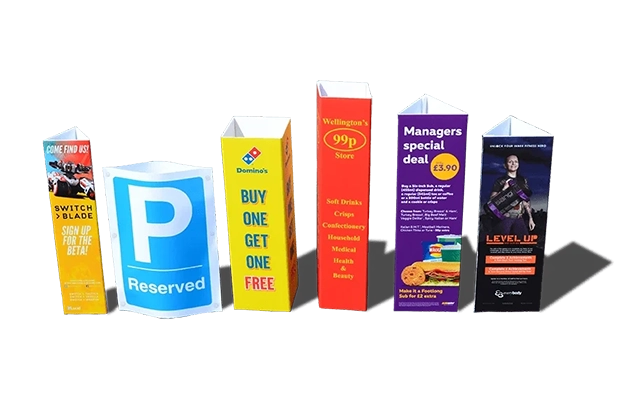
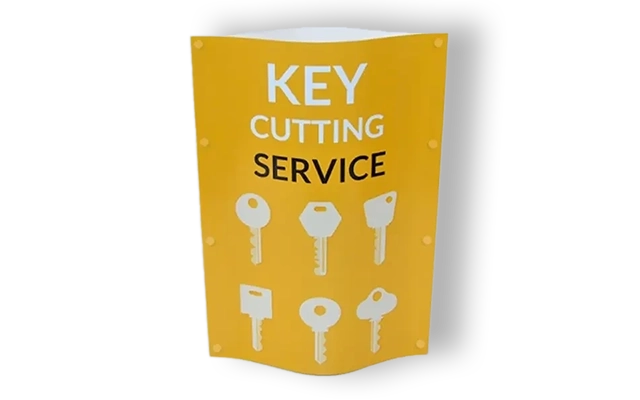
Bleed is a critical requirement for bollard cover printing because it ensures clean trimming and prevents white edging. Overlap panels are also essential, allowing the design to wrap neatly around the cylinder.
Best-practice guidelines:
• Add 10 mm minimum bleed around the artwork.
• Include a 10–20 mm overlap panel to support a seamless wrap.
• Position text at least 5–10 mm within the safe zone.
• Keep fold lines and panel markers on clearly labelled layers.
Positioning key elements away from seams reduces distortion and improves overall readability.
To ensure colours print consistently across campaigns, artwork must be supplied in CMYK rather than RGB. CMYK is optimised for print output, while RGB is intended for digital screens.
Recommended profiles for UK print workflows:
• CMYK FOGRA39
• CMYK FOGRA51
Material choice also affects how colours appear:
• Polypropylene produces sharp, vibrant printed results.
• Correx can slightly soften colours due to its fluted texture.
• UV printing may deepen mid-tones and shadows.
Soft-proofing your artwork in the correct profile helps predict how colours will reproduce on your chosen material.
This table provides at-a-glance clarity for designers preparing print-ready files.
| Artwork Requirement | Recommended Standard | Notes |
|---|---|---|
| DPI | 150–300 DPI | Higher DPI for detailed text or imagery |
| Bleed | 10 mm minimum | Prevents visible edges after trimming |
| Overlap Panel | 10–20 mm | Allows a clean, secure wrap |
| Colour Profile | CMYK FOGRA39 or 51 | Avoid RGB; soft-proof for accuracy |
| File Format | PDF/X-1a or PDF/X-4 | Embed colour profiles and include bleed |
| Safe Zone | 5–10 mm inside edges | Essential for keeping text readable |
| Material Guidance | PP = crisp detail; Correx = softer tones | Adjust artwork to suit substrate |
Submitting artwork in the correct file format ensures a smooth production process and reduces the risk of delays.
Preferred file formats:
• PDF/X-1a or PDF/X-4 for print-ready output.
• TIFF for high-resolution photographic elements.
• EPS for vector-based designs.
Export recommendations:
• Include bleed in the PDF settings.
• Embed fonts or convert them to outlines.
• Embed the CMYK colour profile.
• Avoid PNG or JPG for final artwork due to compression and colour limitations.
Bollard covers must wrap perfectly around a curved surface, so artwork must be planned with the cylinder geometry in mind.
Key considerations:
• Calculate circumference accurately using: diameter × π.
• Avoid placing important text or graphics near the join.
• Use vector elements for crisp results at any scale.
• Ensure photography remains at a minimum of 150 DPI at full size.
• Avoid vertical patterns that may distort once wrapped.
A useful technique is printing a small-scale prototype and test-wrapping it to preview alignment and visual flow.
Not all bollard covers behave the same once printed. Material properties influence how colours, gradients, and fine details appear.
Polypropylene:
• Smooth finish for sharp images and clear edges.
• Ideal for brand-led campaigns or photographic designs.
Correx:
• Fluted lines can create subtle banding.
• Best suited to bold, high-contrast artwork with minimal gradients.
Matching your design approach to the material helps achieve consistent, reliable results.
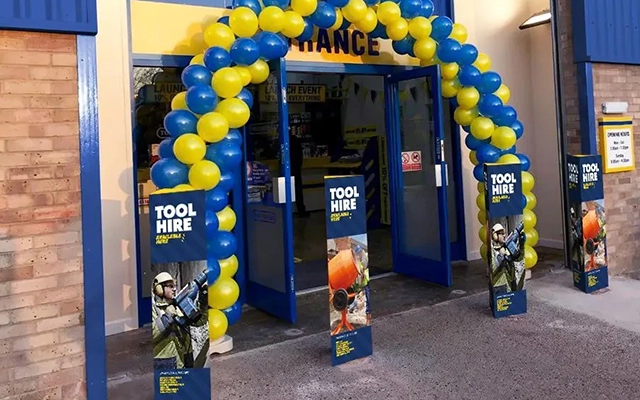

Mistakes in setup often lead to production delays or compromised quality. The most frequent issues include:
• Supplying files in RGB instead of CMYK.
• Missing bleed or no overlap allowance.
• Incorrect wrap direction.
• Low-resolution images resulting in pixelation.
• Text positioned too close to folds or seams.
• Gradients that band on UV or Correx printing.
• Strokes thinner than 1 pt that disappear when curved.
Reviewing artwork against a simple checklist before exporting dramatically reduces the risk of errors.
A structured workflow improves accuracy and saves time during production.
Recommended steps:
• Request a template to match the exact bollard dimensions.
• Use layers for fold lines, bleed, and safe zones.
• Run a preflight check before exporting your final file.
• Soft-proof in CMYK to anticipate colour output.
• Maintain a checklist to verify all technical requirements.
These steps help ensure your artwork is fully compliant with print specifications and ready for fast production.
Proper artwork setup is crucial to producing professional, high-impact bollard covers. By following the guidance on DPI, bleed, colour profiles, file formatting, and cylindrical design, you can achieve consistent results across a wide range of retail and outdoor environments.
If you are preparing artwork for an upcoming campaign, now is the ideal time to review your files and ensure they meet the recommended specifications. Clear, accurate artwork helps reduce revisions, speed up production, and deliver the crisp, confident results your brand deserves.

Unit 4-10 Stanton Road Ind. Est.
Stanton Road
Southampton
Hampshire
United Kingdom
SO15 4HU