High-quality business card printing starts long before they reach the printer. Even a strong design can fail in print if the artwork is not prepared correctly. Colour changes, unwanted borders, fuzzy images, and trimming issues often stem from incorrect file setup rather than design mistakes. This guide explains how to create accurate, print-ready artwork that meets UK industry standards and helps your business cards print exactly as intended.
Print-ready artwork ensures a smooth transition from digital design to physical product. When artwork is set up correctly, the final cards:
Understanding the fundamentals of print preparation protects both your design quality and your budget.
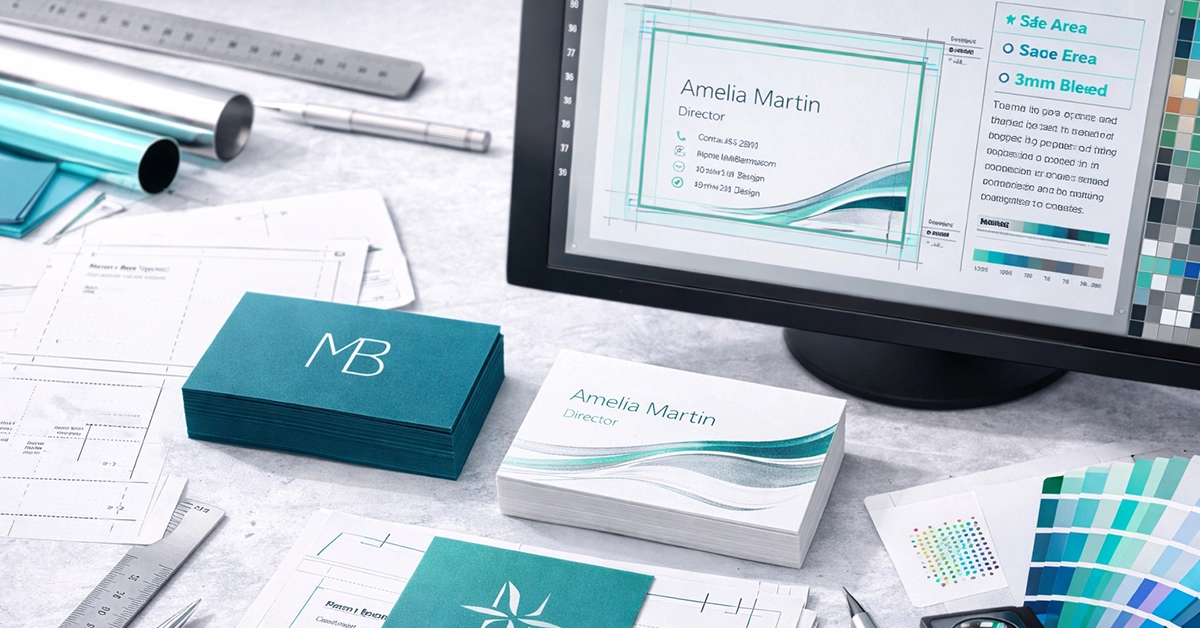
In the UK, the standard business card size is 85 mm x 55 mm, but the artwork itself must be larger to allow for trimming. Printers require a 3 mm bleed on all sides, making the final artwork size 91 mm x 61 mm. This bleed area ensures the design extends beyond the trim edge, preventing visible borders.
You should also include a safe zone of at least 3 mm inside the trim area. All important text and logos should stay within this zone to avoid being clipped during trimming.
Correct sizing forms the foundation of reliable, print-ready artwork and prevents layout issues further into the process.
Professional printing uses CMYK inks, while screens display RGB colours. Colours created in RGB often appear overly bright and may shift when converted to CMYK. To maintain colour integrity:
Small prints such as business cards magnify any imperfections, making accurate colour profiles and crisp resolution essential.
Before you begin placing content, configure your document using print-focused settings. This includes:
Starting with a well-structured document ensures your artwork remains consistent, accurate, and easy to export.
Once your document is set up, focus on the layout and precise placement of each element. Best practices include:
These steps help avoid common printing issues such as clipped text, soft edges, and layout shifts.
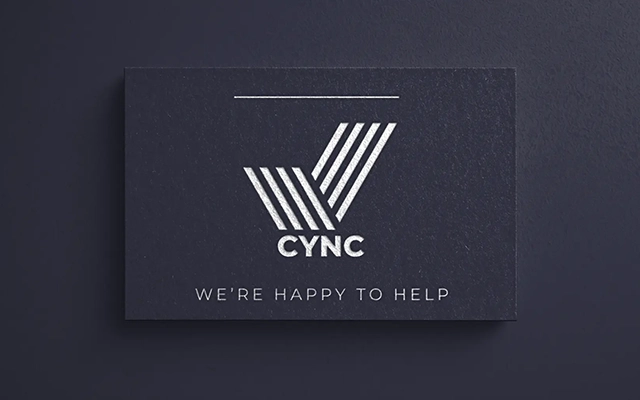
Special finishes add impact to business cards, but they require precise artwork setup. To prepare artwork for finishes such as spot UV or metallic foil:
Accurate setup ensures the final print finish sits exactly where you expect, without misalignment or incomplete coverage.
The export stage determines whether your artwork prints correctly. Use professional print settings such as:
Avoid exporting as JPEG or PNG, as these formats do not retain print-specific data required for accurate output.
| Element | Requirement | Notes |
|---|---|---|
| Finished size | 85 mm x 55 mm | Standard UK dimension |
| Full artwork size | 91 mm x 61 mm | Includes 3 mm bleed |
| Safe zone | 3 mm inside trim | Prevents text being cut |
| Colour mode | CMYK | Ensures accurate printing |
| Resolution | 300 dpi | Avoids blurred output |
| Preferred format | PDF/X-1a or PDF/X-4 | Professional print standards |
| Fonts | Outlined or embedded | Prevents substitutions |
| Graphics | Vector where possible | Crisp lines and edges |
| Special finishes | Separate layers | Use 100% black for mask areas |
Many artwork issues arise from simple oversights, such as:
Correcting these issues early prevents production errors and ensures a professional final product.

Before submitting your file, review this essential checklist:
Completing these checks helps ensure your print order proceeds smoothly, without costly revisions.
Many designers learn print preparation through trial and error. Common experiences include:
Understanding these pitfalls allows you to produce artwork that prints accurately the first time.
Preparing professional, print-ready artwork is a vital part of producing business cards that look crisp, consistent, and aligned with your brand. By setting up your document correctly, designing with print-focused standards, and exporting using the right file settings, you protect your design from avoidable print issues and achieve reliable results every time.
If you’re preparing new business card artwork or want support refining your existing designs, now is the ideal time to put these techniques into practice. Use this guide as your reference, apply the specifications carefully, and take the final step of reviewing your artwork before sending it to print.

Unit 4-10 Stanton Road Ind. Est.
Stanton Road
Southampton
Hampshire
United Kingdom
SO15 4HU